
Rag jackets, AKA tatter coats or ribboner’s vests are super-fun to wear, easy-to-make and endlessly customisable.
These days you’ll mostly see them worn by Border Morris Dancers (performing dances from the Wales-England border), as well as some mummers groups (especially in Hampshire) but historically they were worn by morris dancers from other traditions too, and they are a common style of garment found in folk traditions the world over.
If, like me, you’re not much of a sew-er, don’t fret. This is a pretty entry-level activity. And if you’re a pro…well you’ll probably know how to do it much better than I do, so please feel free to share anything you think I’ve missed!

What you’ll need
Fabric / rags
A shirt
Sewing machine
Tailor’s chalk
Ruler
Buttons (optional!)
1. Find your rag-spiration!
To make a rag jacket you’ll need rags. A LOT of rags. (Probably more than you’d think!)
If you’re heading for your local fabric shop, you want to aim for about 10m of fabric, depending how well spaced your rows are going to be.
You might want to use a single kind of fabric or lots of different kinds. I used grey muslin, which I hand-dyed using household bleach because I wanted to create an organic look. However, you can use whatever type of fabric you like (or can easily lay your hands on) and different types and weights of cloth will give different effects and move differently as you’re dancing.
If fabric shops are too pricey or you’d prefer to recycle, you can buy some beautiful (and often very high-quality) used bed linen in most charity shops. Also, the emphasis here is on *rags* so you can also take the opportunity to gather up any stained or unusable clothing or sheets that you have lying around the house that would otherwise go into landfill.
Heck, the Marshfield Mummers use rags made from newspaper (and claim that prior to the 1930s they used leaves!). Be creative! There’s no rules about what you use!
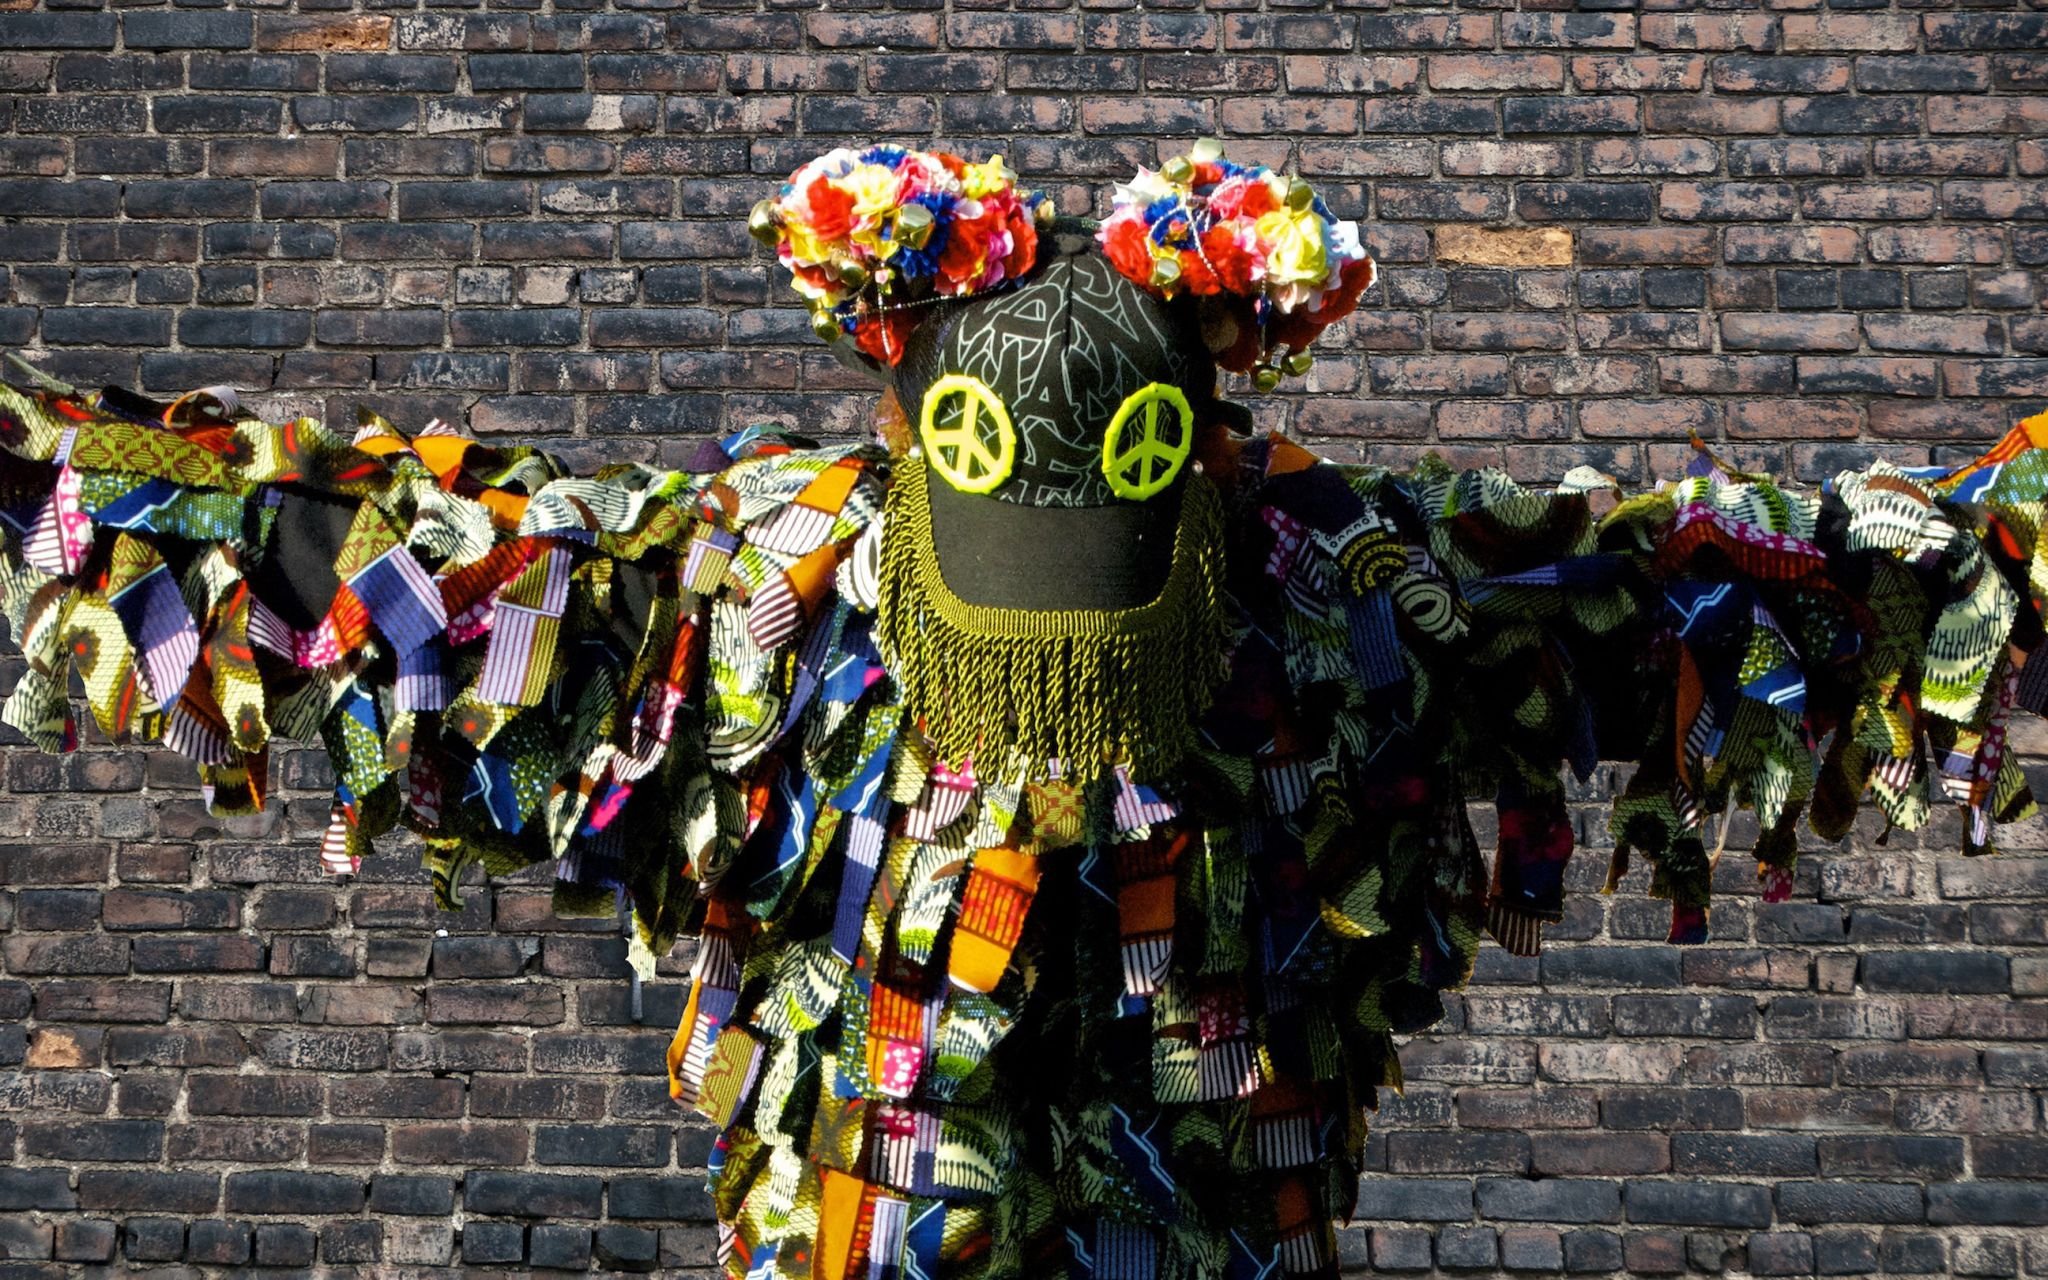
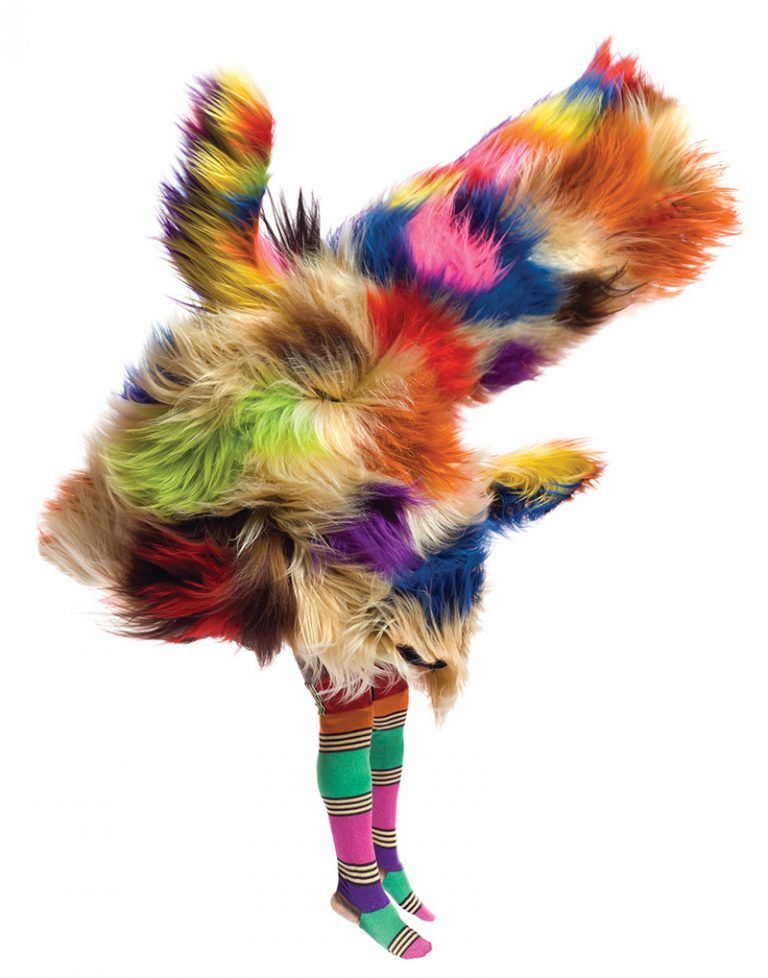
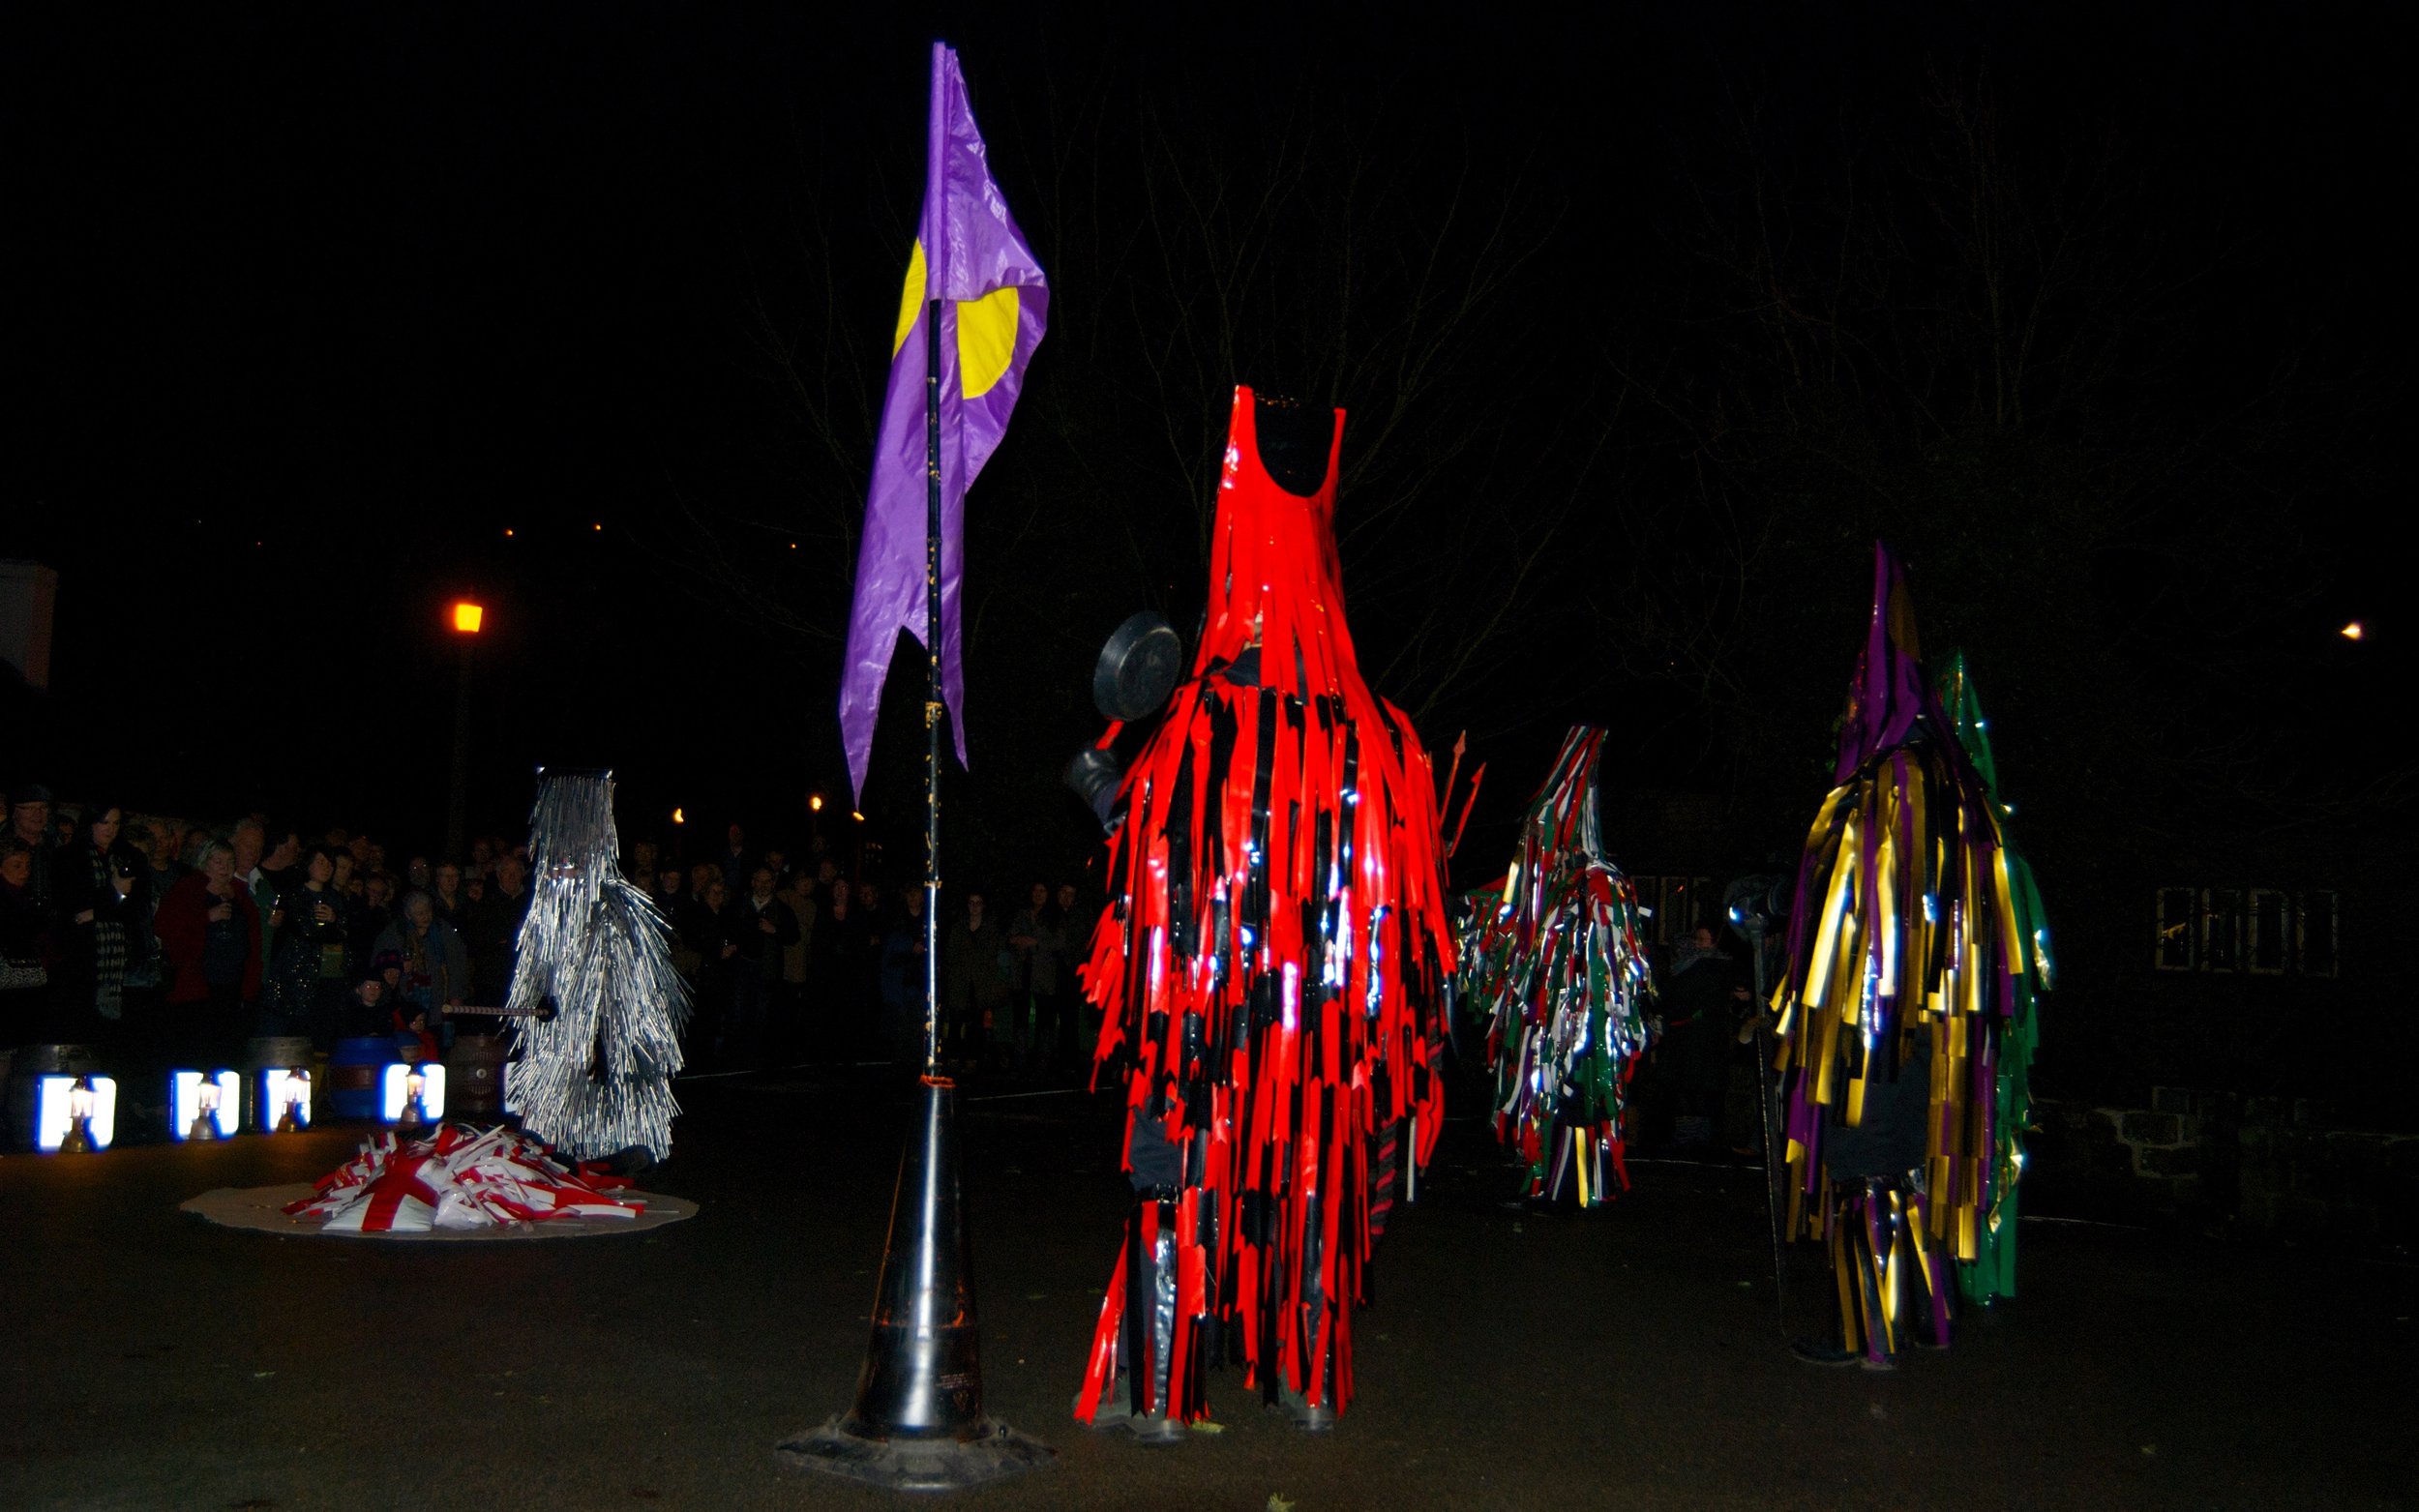
You might also want to take a look at some ‘rag-spirations’, like some of those shared below! Nick Cave sound suits, Bavarian carnival get-up, Long Company Mummers and Shetland Island Skeklers…the possibilities are endless!

Axel Hoedt, 2022
Lucy Wright, Bear Dance, 2014

Charles Freger, Wildermann, 2011-11
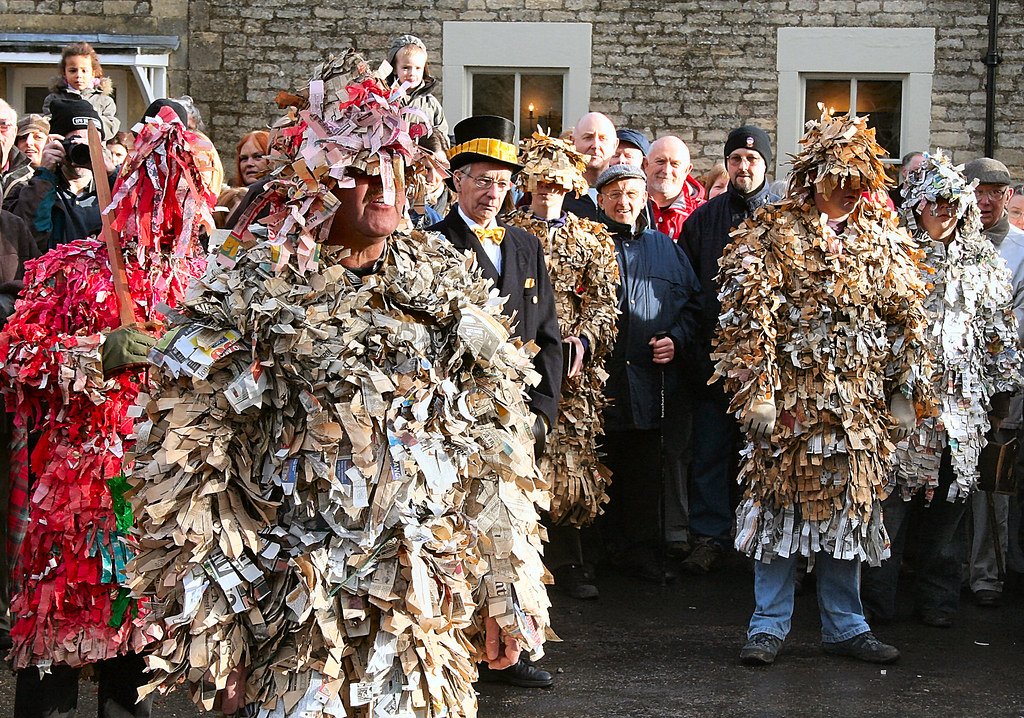
Marshfield Mummers, photographed by Nigel Goldsmith, 2014

Mat Cowan, 2015
![Shropshire Bedlams morris dancers [please contact me with photo credit]](https://images.squarespace-cdn.com/content/v1/63a58b86ee57a14425acc4fe/57923571-dfad-44b6-9fbe-ebe396286350/shropshirebedlam.jpeg)
Shropshire Bedlams morris dancers [please contact me with photo credit]
Nick Cave, Soundsuit, 2015
![Bourne Borderers, morris dancers [reproduced with permission from Sally Bird]](https://images.squarespace-cdn.com/content/v1/63a58b86ee57a14425acc4fe/40cc1732-0570-43fb-9950-6e63d5cedc6c/357227455_10223664733671674_3288730350369858640_n.jpg)
Bourne Borderers, morris dancers [reproduced with permission from Sally Bird]

Nick Cave, Soundsuit, 2003

Skeklers, by Gemma Dagger

Otterbourne Christmas Mummers, by James O Jenkins
Long Company Mummers
2. Make your rags
This part is actually quite therapeutic. You need to tear (or cut) your fabric into rags!
I made my rags roughly the same size—approximately 20 x 5cm—but you can make yours longer or shorter, wider or narrower depending on your preference. Small, densely packed rags will give a fuzzy sort of effect, while larger rags might be more floaty and ethereal. You can also make your rags in a range of sizes for a more haphazard sort of look. Whatever you feel like in the moment!
If you’re happy with a ragged sort of look—like mine—you can literally tear your rags by hand. You just need to make a tiny snip at the top edge of the fabric and then pull the two sides apart. This should be fairly easy to do: if it’s difficult, or the fabric is distorting, turn it 90 degrees and try again, making sure that you’re following the natural weft of the fabric.
If you prefer a sharper look, you can obviously use scissors or one of those rotary pizza-cutter fabric wheels, or pinking shears for a neat zig-zag edge. Some rag jackets have rags that are a particular shape, like ovals or triangles. There’s no rules. Go wild!
I then spent an inordinate amount of time carefully hand-fraying my rags to make sure they were all the exact amount of rustic—but you definitely don’t have to do this!
3. Grab a shirt
The basic form of the jacket comes from a pre-made button-up shirt. Yup. No need to make a jacket from scratch (unless you really want to!).
I bought mine from a charity shop for about £4. You will most likely want something reasonably roomy, so size up accordingly. Mine is a men’s size medium. Also, I’d recommend something in a natural fibre, because these babies can get HOT when you’re dancing! You should probably also try to select a colour that is similar, or a deliberate contrast to the colours of the rags that you’re using, because you’ll likely see a few flashes of the under-jacket when you’re moving about.
Once you’ve found the shirt for you, you want to cut off the collar and any pockets using sharp scissors: they just get in the way. Also, if you’re extra like me, this would be the time to replace the white plastic shirt buttons with something more satisfying to the eye, but this will hardly be seen, so is only for the ultra-finicky!
Then lay the shirt out flat on a table or floor, take a ruler and some tailor’s chalk and draw some parallel stripes all the way around the shirt. This part is probably easiest to explain by looking at the photograph below. The bright green lines are where I drew my chalk marks.
You can make your stripes close together or far apart, but of course the more stripes you make, the more rags you will need overall, while the wider they are, the more of the under-shirt you will see. On the whole, you’ll want the distance between your stripes to be a few centimetres less than the length of your rags, so that they will hang nicely and overlap with each other.
Top tip: Don’t forget to follow your chalk lines around the back of the shirt too! You can extend your line a little as you’re drawing it to make it easier to connect the dots when you turn the shirt over. They need to be continuous neat bands all around the garment.
Top tip 2!: Sew a line of rags along any shoulder seams as well as the arm seams and cuff. For the sleeves, you will need to fudge the measurements a bit, so that the acute diagonal of the arm seam flows neatly into the right angle of the cuff. See picture for a better description!

4. Fire up the sewing machine!
I was so scared of my sewing machine that I had to glue googly eyes to the dials to make it more personable. However, once I got the hang of it, we became firm friends—and I dread to think how difficult and time-consuming this particular task would be if sewn by hand.
OK, so starting at the bottom of your shirt, with the first chalk line that you have drawn, you’ll want to insert the outside edge of your (unbuttoned) shirt and your first rag and begin to sew it on, remembering to secure it with a few back stitches. When you reach about midway into the first rag, STOP! Take your next rag and lay it on top, so that it overlaps with the first rag. Then sew this on halfway too. Repeat. For a long time. When you reach the end of your hoop, add one more rag to close the gap and back stitch it to finish the row.
Then move upwards to the next chalk line and begin the process again! You will do this until all of your chalk lines are covered with overlapping layers of rags.
When you reach the collar, can create a layer of rags that tuck inside, so you get a nice neat finish (see image!).


5. Try on your rag jacket and do a trial morris dance!
That’s basically it! It’s a little time consuming and can be a bit tricky to manoeuvre around the machine as the shirt gets more covered in rags, but it’s basically a pretty simple sewing project and looks SO good when it’s finished.
You may spot a few rogue gaps of under-shirt when you put on your jacket, which you can either leave as is, or fill with a few spare rags you might have left over. Also, be sure to trim any loose threads, especially inside the arms! It can get kind of ‘webby’ in there!
Now jump up and down and enjoy the feeling of being a tiny baby bird flapping its wings for the first time. And share a photo with me, on Instagram or info@lucywright.art. I’d love to see what you make!
Thanks to Chloe Middleton-Metcalfe of the English Folk Costume Archive for consulting on all things historical, and also to Daisy Black for teaching me to make a rag jacket all those years ago in South Manchester!
Now you’ll need some hankies! And maybe some rosettes? And baldricks?
More tutorials to follow soon!
